This is a side dish recipe. However, in my “Recipe Book” everything is in alphabetical order and grouped together only in the index by categories. Here it is just a post in the “Recipes Section” like I promised.
I used Yukon Gold Potatoes and added the roasted garlic because I had some on hand. What’s that? You want a how to roast garlic recipe? Sure let me go type that right up. First, I’m going to go have beer and wait while my editor takes at look this post. Then he has to look at the Pot Roast post that goes with the mashed potatoes!
INGREDIENTS
5 lbs. of Russet or Yukon Gold potatoes
1 stick of Butter
½ cup half and half
¼ cup whole milk
Salt
White pepper
5 Cloves of roasted garlic (optional)
DIRECTIONS
Peel and cut the potatoes into 2 inch pieces. Cook the potatoes in boiling water about 20 minutes. Test the potatoes with fork for doneness. Drain the potatoes (in colander) and then return them to the pot. Add the butter in tablespoon size pieces; add cream, milk, salt, and pepper. Add cream and milk slowly as not to cool off the potatoes to fast or have it slash out while mixing. Using an electric mixer set to low, beat the potatoes until there are no lumps. If you do not own an electric mixer you can buy a hand “potato masher”. Some people actually prefer using one of these as they like the “lumps”.
NOTES: My mother never used half and half just whole milk. I find the ½ & ½ gives it a nice extra richness. I don’t make mashed potatoes every month so I can splurge on the extra butter and cream.
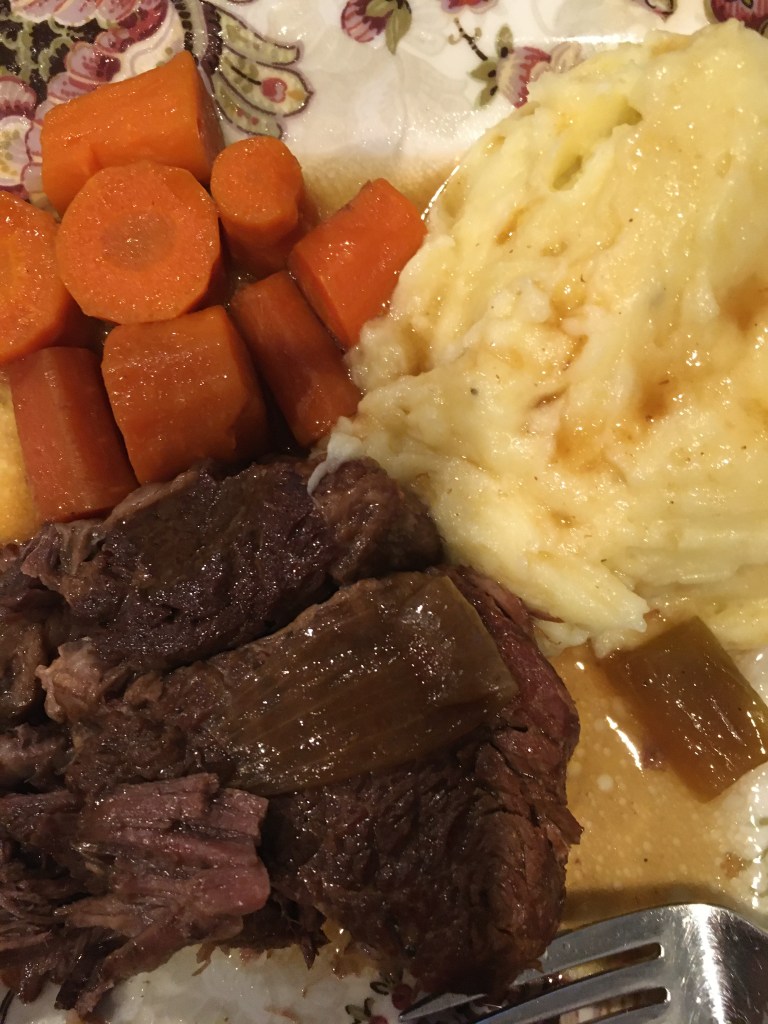
Last night was the all American Favorite “Pot Roast with Mashed Potatoes” or as I once had in a dinner located down in South Carolina, “The Blue Plate Special”. Man was it good too!
So our first main entree’ recipe is as follows:
COOKING UTENSILS NEEDED
Instant- Pot (6-quart or larger)
Large serving fork or tongs
Wooden Spoon
Chef’s Knife
Cutting Board
INGREDIENTS:
Chuck Eye Roast (4 pounds)
2 Pounds of Carrots (I really like these carrots when done)
1 tablespoon tomato paste
2 to 3 stalks celery
2 cups water
2 medium onions – peeled and sliced in half
3 cloves of whole peeled garlic
1-2 tbsp. Olive Oil
2 tsp. beef bouillon or one bouillon cube
Garlic powder, Salt & Pepper to taste
DIRECTIONS:
Prepare the chuck roast by sprinkling it with salt, pepper and garlic powder on both sides of the meat. The beef I used this time looked like a 3-inch steak (buy two). Sometimes it’s a whole 4 pound roast that is oblong. What ever the shape, season it all around. Add the oil to the bottom of the Insta-pot and turn on to Sauté. Brown the meat on both sides. Remember that your beef should be dry before you try to brown it. If your beef is wet then it may steam and turn grayish looking instead of browning. Why do you want it a little brown on two to four sides? TASTE! The browning effect is the cartelization of the sugars and it makes your dish taste richer. Trust me there is a reason for EVERYTHING! I had two steaks so that four sides for me. A roast would be the something. Brown four sides of a whole roast. After your meat has browned, remove it to a plate on the side.
Pour in the water to the insta-pot. Add the onions, celery and beef bouillon. Stir with a wooden spoon to loosen the little brown bits on the bottom. This technique is called deglazing. Many times, you might be using wine to deglaze with instead of water. Mmm wine. Add the meat back in and cook one hour and 15 minutes. Yes, leave out the carrots for now. Cover with the lid and cook by pressing the meat button for one hour. Cool for 10 minutes and open according the manufactures directions for letting the steam escape. CAUTION!!! Steam burns hurt and can be a serious injury. Follow the directions! I use a kitchen towel to cover the vent and oven mitt to open the steam valve!
Once the steam has escaped completely and the little pressure gizmo has fallen down carefully open the lid. I cannot reiterate this enough: Be carful of the steam!
Now add the carrots to the top and make sure they’re in the sauce/juice.
Close her back up and cook one more hour.
Cool and repeat the opening process from before. You can let the meat rest and cool off in the pot while you make the mashed potato recipe found on another page!
If you want, gravy here is a quick recipe for that:
Gravy
3 cups of dripping’s (Dripping are the Juices and fats that the meat cook in)
¼ cup water
3 tbsp. flour (one tbsp. per cup of drippings)
Remove the meat and then the vegetables from drippings by pouring through strainer or colander. Cover everything with foil to keep it warm. Return the drippings and the pan to stove over medium.
In a measuring cup whisk together ¼ cup of water and flour. Slowly add flour water to meat drippings while continually stirring and heat until thickened.
Serve immediately.
You can also make a flour and butter roué and the meat drippings to that but it’s harder. Maybe next time try that and see what you like better!
Try it and let me know if you have any issues that I need to fix before I print out my first addition of the Recipe Book!
I will post the Mashed Potato Recipe next!
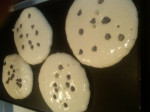
I don’t know how pretty it looks but It tastes better then it photographs.
I know what your thinking. This is not much of a recipe but hey if you have never made them it takes practice to make then right and if you have made them do you remember how hard it was to flip them that first time? This is all abut learning how to control your heat and timing. If you really want to learn how to make pancakes for the first time. Visit the “How To Cook” page for the fully detailed article that accompanies this recipe.
INGREDIENTS:
Any Brand of Complete Pancake Mix
Water
Chocolate chips (optional)
Banana (optional)
Whip cream (optional)
DIRECTIONS
Preheat Grill (I have a heavy duty Coleman grill that I use on my gas stove that works perfect).
Mix the batter according to the package directions. I use a 4 cup glass or pyrex measuring cup to mix the batter in. This makes pouring the batter much easier. (My mother had a very old 4-cup plastic measuring cup she used for pancakes and waffles. She would pour the batter from a mixing bowl into the measuring cup). I add about an 1/8 of a cup of milk to the batter to make it a little thinner. Heat grill while letting batter sit. When the grill is hot, stir batter one more time and pour onto the grill. I never use oil or butter because this is a non-stick grill.
Once the pancakes are on the grill then sprinkle the chocolate chips into the pancakes if desired. Flip when edges begin to cook and bottom in golden brown.
Add whip cream and Slices Banana or serve with maple syrup.
I never make them from scratch anymore. I use the pancake mix from a box and the “complete mix” so all you need is water and boom breakfast. I do however use a little milk with this mix. I also like mine with eggs over easy and bacon or sausage.
NOTES My mother only made these on vacation days, snow days or holidays. This was also the first recipe I ever learned to make (so I could eat them more often). The only breakfast we liked better than this was my mother’s waffles (made with an old GE waffle iron) and they were even harder to get her to make because they were more work. The waffle iron was always the hardest thing to clean.